Creating events using the Calendar feature in Brightspace can help you stay organised and on top of your schedule. You can display all upcoming events to students in one spot and post events such as deadlines, office hours, and in-class events to the calendar.
Here are the steps for creating events using the Calendar feature in Brightspace:
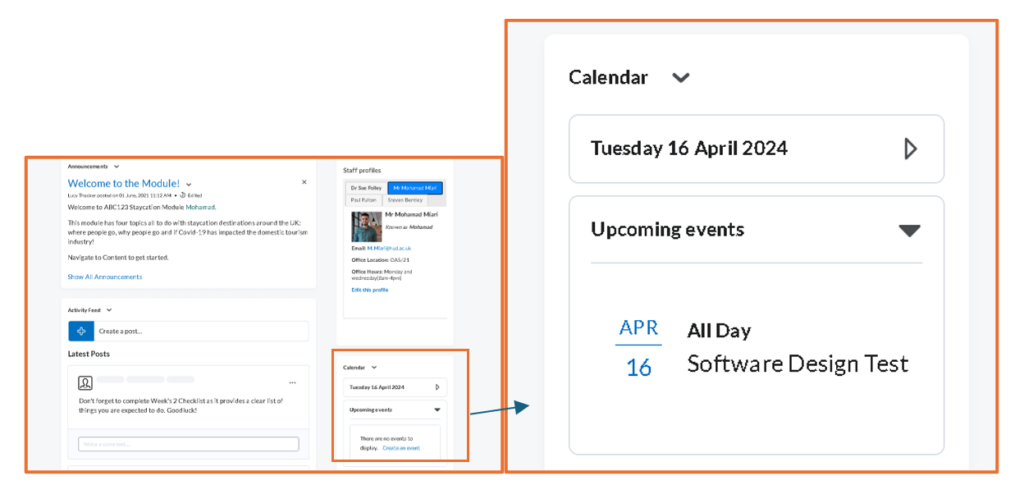
- Log in to your Brightspace module where you would like to add events and navigate to the Calendar feature. You can find the calendar feature in the sidebar. Next, click on Calendar.
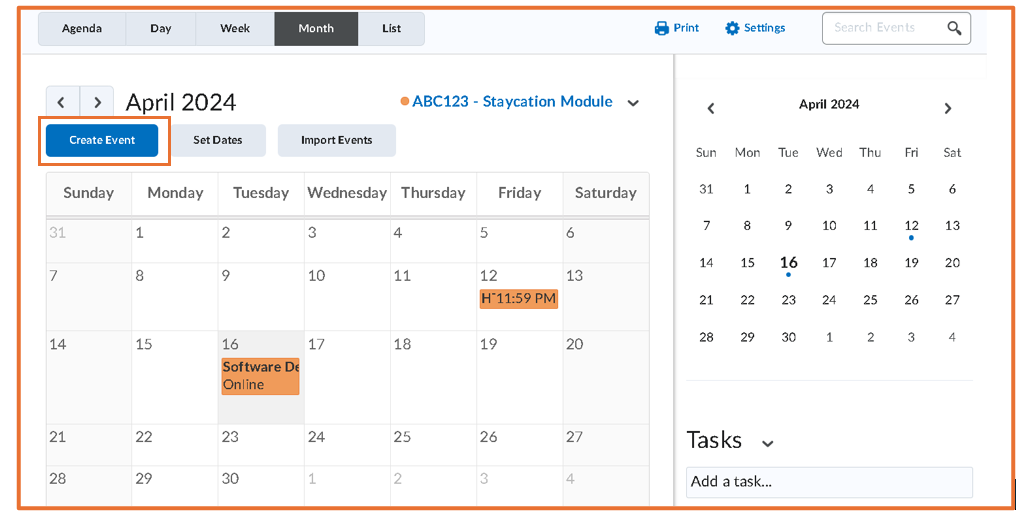
- In the new page, click on Create Event to add events to the calendar.
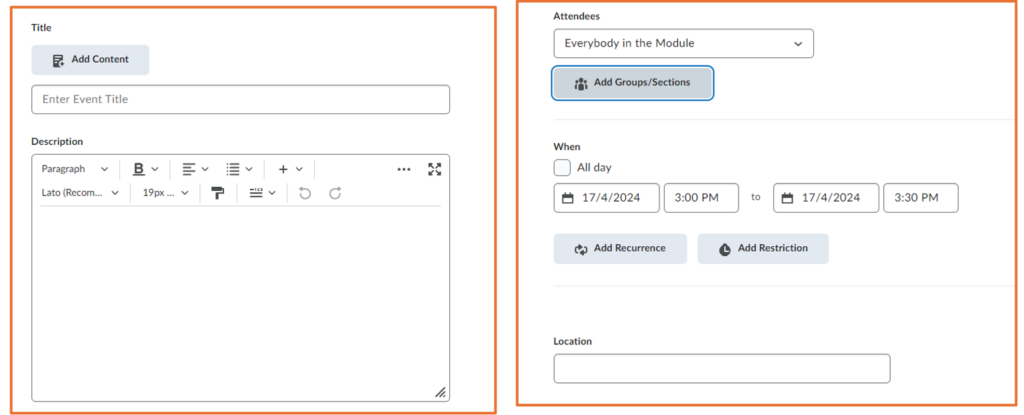
- In here, you can fill in event details: Event Title, Description, choose Attendees, Date, start time, end time, and Location.
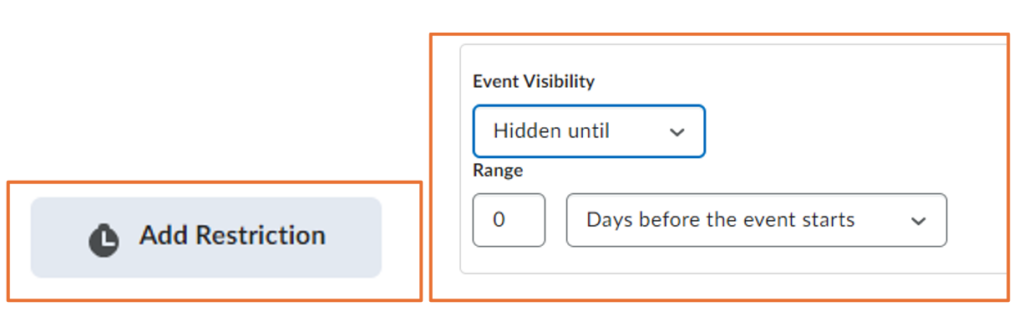
- You can also add restrictions by clicking on Add Restriction. Then, you can choose the Event Visibility option and Range.
- You can also add recurrence option by clicking on Add Recurrence. Then, you can add Recurrence option, Repeat Every how many days, and Recurrence Ending date.

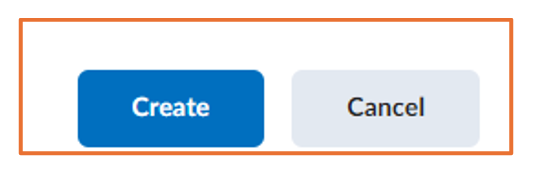
- Once you’ve filled in all the necessary details, click on Create at the bottom.
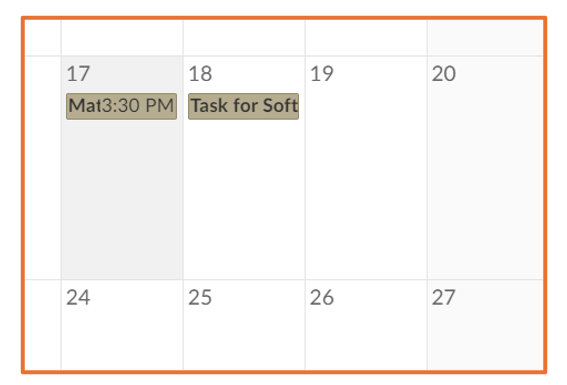
- Your event is now added to the calendar. You can view it alongside any other events or assignments you have scheduled.
By following these steps, you can efficiently create events in Brightspace’s Calendar feature.
Please note: All information is accurate at the time of posting but the Brightspace / Teams layout may have updated.
For more help or information on this tool, check out the iPark website for handy how-to guides; or Brightspace Bytes on Brightspace for helpful screencast tutorials.