Brightspace has lots of different features and one of the features that you can use to enhance your module is the Awards tool.
By using the Awards tool, you can create and award badges and certificates to your students based on their achievements and progress.
In this blog post, we will show you how to create awards in Brightspace.
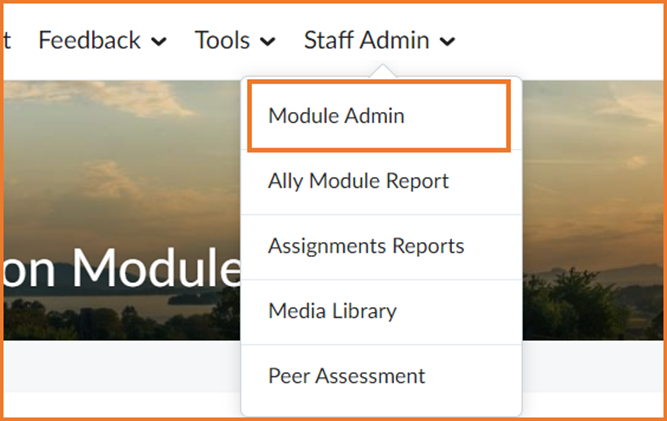
To create awards firstly in your chosen module, click Staff Admin from the module navigation bar then from the drop-down menu select Module Admin.
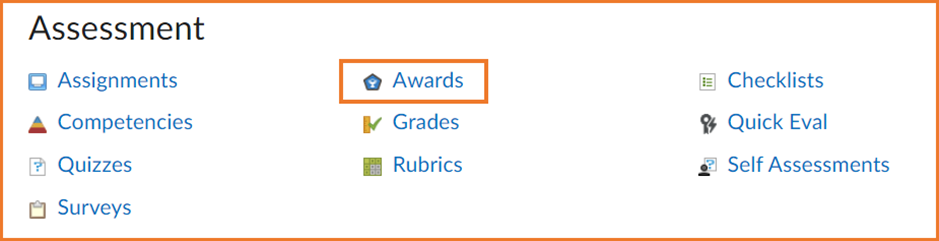
Then from under the Assessment section select Awards.
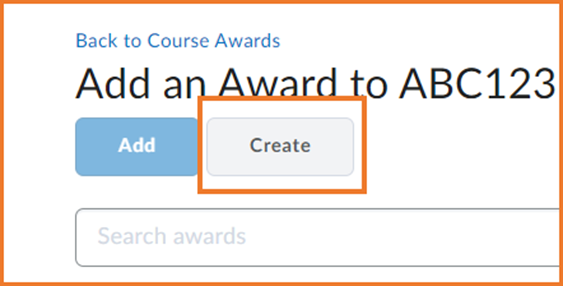
Next, with the Module Awards tab selected click on Add Award To Module.
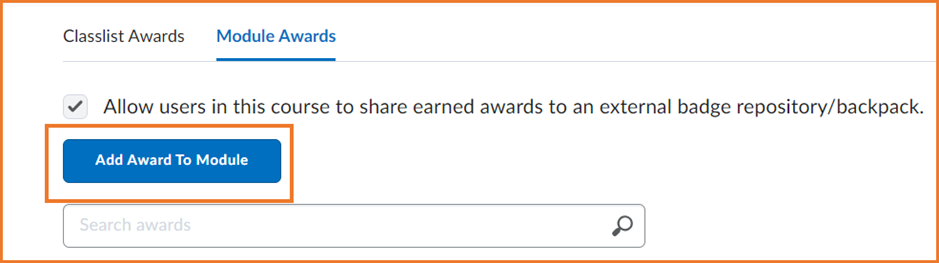
Then click Create.
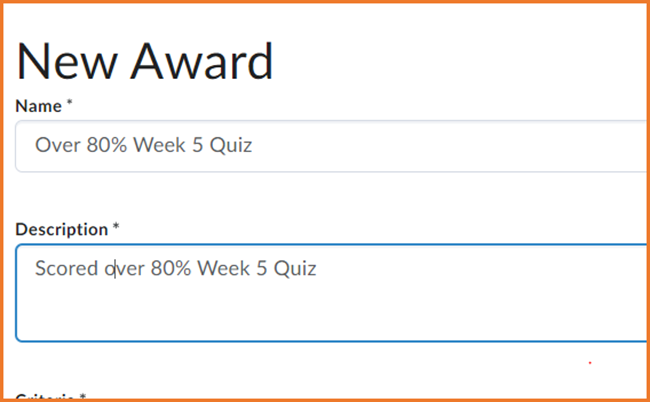
Give the award a suitable Name and Description and Criteria.
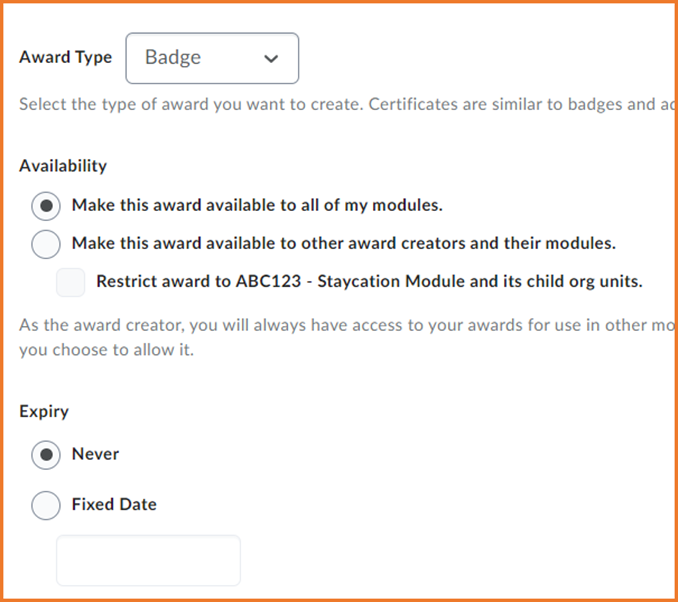
Then choose your Award Type and adjust Availability and Expiry to suit.
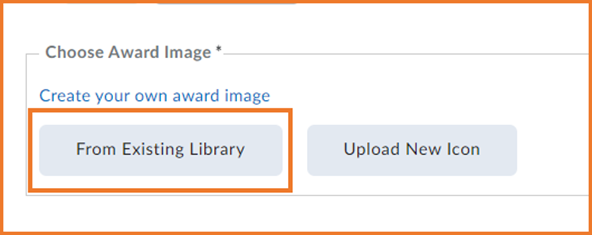
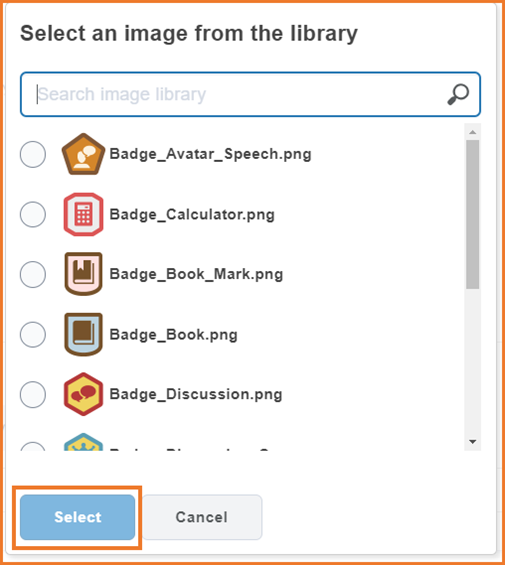
Next choose an Award Image click From Existing Library, there is also an option to Upload New Icon.
Choose your preferred icon and click Select.
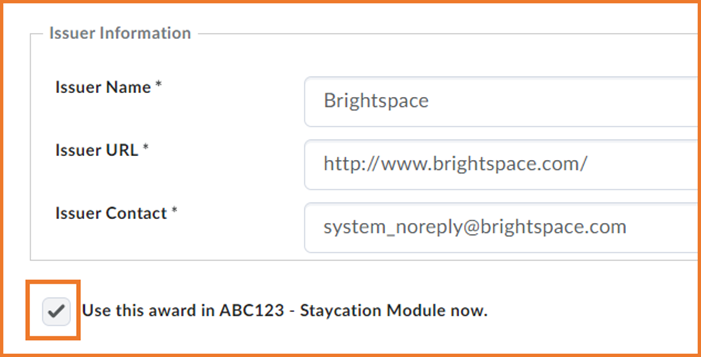
Fill out the Issuer Information and check the box to use the award in your module.
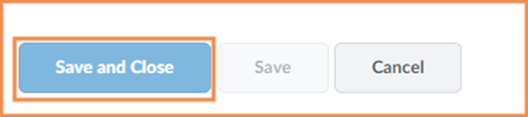
Finally, click Save and Close.
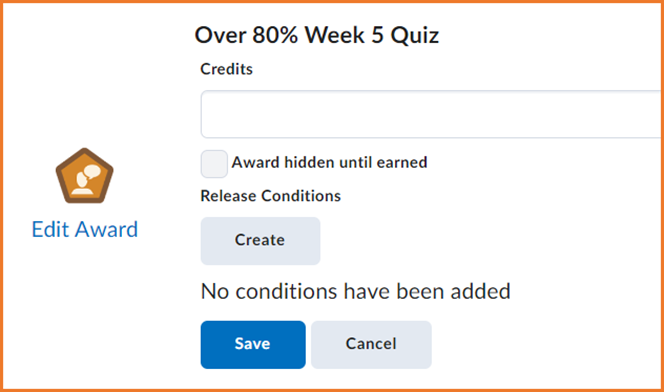
The next part of the process is adding Release condition to the award, so it is released when a student reaches a target you have set.
If you are unfamiliar with release condition or want to have a quick refresh of the subject, why don’t you check out our guides on iPark:
Release Conditions How-to-Guides
Using the Brightspace Awards tool How-to-Guides
Please note: All information is accurate at the time of posting but the Brightspace / Teams layout may have updated.
For more help or information on this tool, check out the iPark website for handy how-to guides; or Brightspace Bytes on Brightspace for helpful screencast tutorials.