Release conditions are used in a number of different ways in Brightspace including making content or announcements only visible to specific groups of students or when students have completed a previous task. You can use them to create a customised learning path through the materials in a module. Release conditions can be used to prevent learners from seeing a certain item until they meet the conditions that you define.
For example, you could attach a release condition on the second item of content or unit to be hidden until the first one is viewed by the user.
- In the module where you want to add release conditions, click on the page where you want to add release condition.
- Next, scroll down and click on Add dates and restrictions.
- Then, click on Create button.
- In here, you can choose the Condition Type, where you can select the condition, you want to use from the dropdown list. If you want the students to visit a content item first before this one is visible you need to pick Visted Content Topic from the list of condition types.
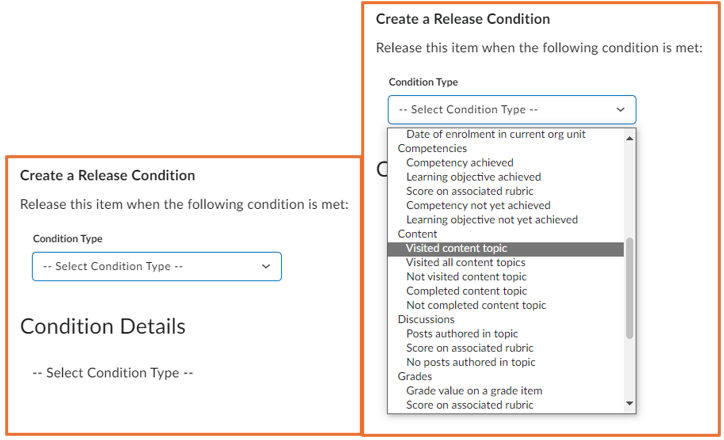
- After choosing the condition type, you can now pick the Topic which the students need to visit first.

- When you are done, click on Create.
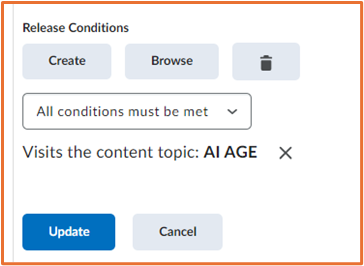
- Now, you can see the release condition added below the content in the activity detail.
You should now know how to use release conditions in Brightspace!
Please note: All information is accurate at the time of posting but the Brightspace / Teams layout may have updated.
For more help or information on this tool, check out the iPark website for handy how-to guides; or Brightspace Bytes on Brightspace for helpful screencast tutorials.