Have you tried using the Tabs element to display different blocks of text in Creator+?
In Brightspace, the Tabs element in Creator+ serve as a navigational tool that allows users to switch between different sections or views of content without having to leave the current page. Each tab represents a distinct category or topic, making it easy for users to locate and access relevant information quickly, offering a clean and intuitive way for users to navigate and access content.
These are some steps on how to create a Tabs element using Creator+ in Brightspace:
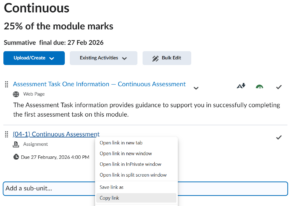
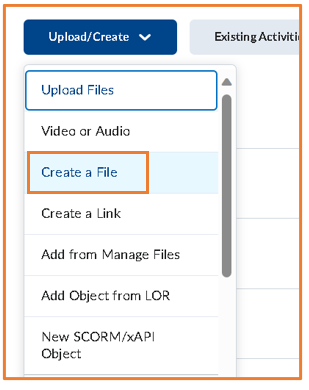
- Firstly, go to module where you would like to create tabs in and in the relevant folder in the content area click on Upload/Create and then Create a File.
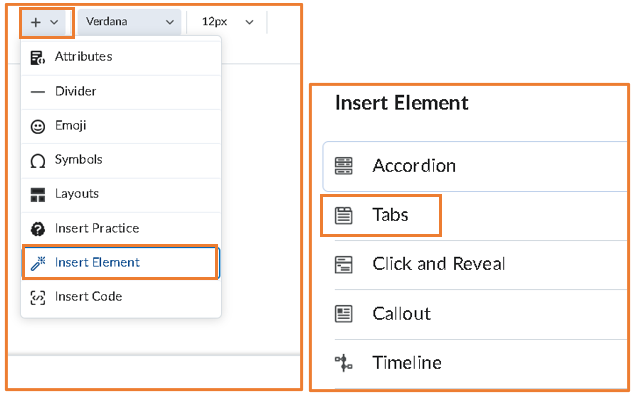
- Then, click on the Other Insert Option icon, represented by the plus icon, and click on insert Element. A new menu will open, choose Tabs element.
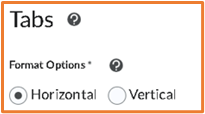
- You have two options of Tab format to choose from: Horizontal or Vertical this just relates to the position of the tabs, so is your preference.
- After choosing the format you want, you can now add the instructions to the students and add the content to the tabs. You can insert text, images, videos, links in your tabs using the editing menu.
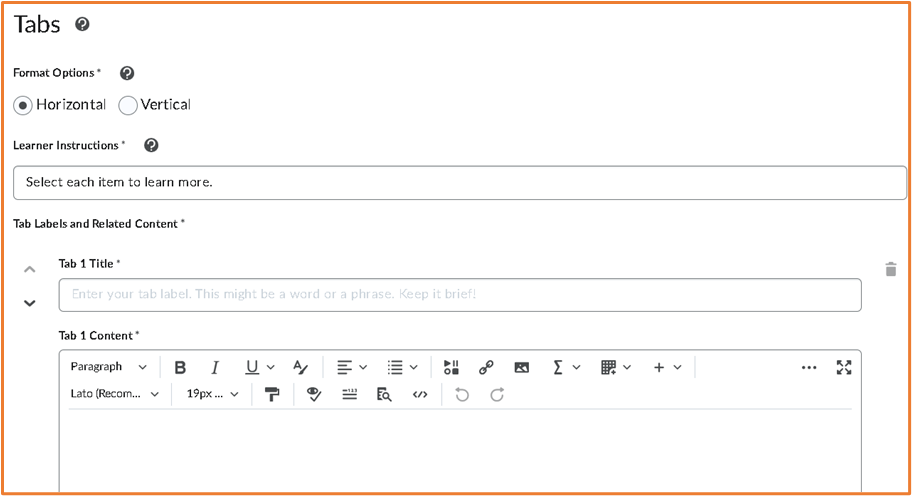
- Once completed, click Preview to test the element, then click Insert if you have finished editing and want to insert the tabs element into your content item.
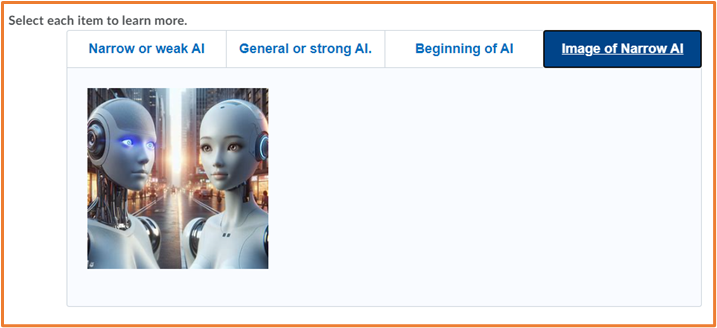
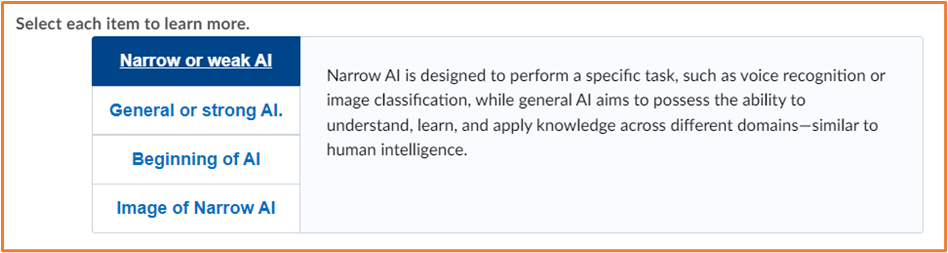
These are some examples of Tabs elements created.
Example of Horizontal Tabs Format:
Example of Vertical Tabs Format:
Now that you know about the Tabs element – go try it yourself!
Please note: All information is accurate at the time of posting but the Brightspace / Teams layout may have updated.
For more help or information on this tool, check out the iPark website for handy how-to guides; or Brightspace Bytes on Brightspace for helpful screencast tutorials.