
Most of you will already know about the PowerPoint Live feature which allows meeting participants in Teams to navigate through slides, interact with links and other interactive features on slides on an individual basis. Now there is a similar feature for Excel when sharing your screen in a Microsoft Teams Meeting.
Excel Live allows meeting participants access to the same Excel sheet that is being shared.
This allows participants to scroll through the Excel sheet, separate to the presenter.
The presenter and the meeting participants don’t need to have Microsoft Excel open to use this feature as the file is opened within the Teams meeting.
It also allows each meeting participant to view different cells and make edits to the document on a collaborative basis.
This works in a similar way to collaborating on an Excel document using the Files section of a Teams channel with the added benefit of being able to discuss it within a Teams meeting.

The difficulty with Excel as a general tool is that it is hard to explain when something is not working as intended, especially when it is not in a face-to-face environment.
Using this feature, can alleviate the problem, as it makes it easier to see the same document without having to send it first. It is then possible to see the different formulas implemented and see where other people are within the document to be able to better discuss any issues.
Using the Excel Live feature is the same process as the PowerPoint Live feature.

To get started, within a Teams Meeting, click on the Share button in the top menu bar.
At the bottom of the drop-down, under the PowerPoint Live heading will be the Excel Live section. Your most recent Excel files will be shown under this section.
If your file is available here, then click on it to share the file.
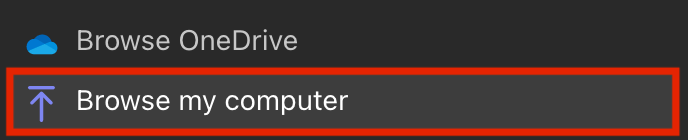
To share other files, click on the Browse my computer option at the bottom of the drop-down and select the file from your device.
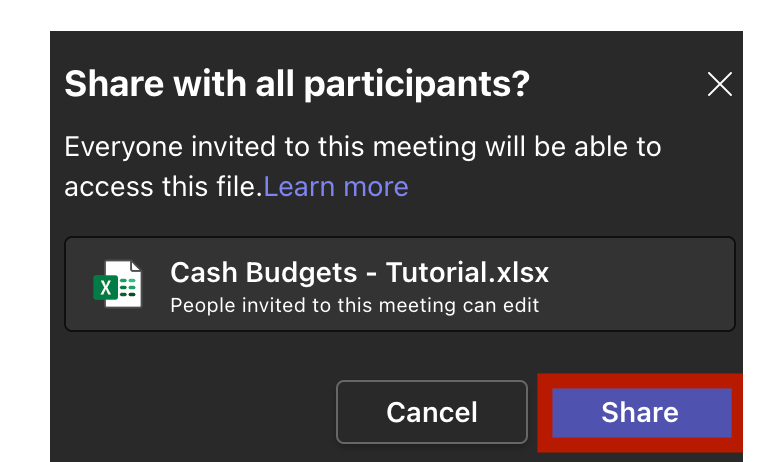
Once the file is selected, you will receive a pop-up telling you that the file will be shared with all participants.
Click the Share button.
Your file has now been shared to the meeting participants.

To stop the participants from accessing the file, click the Stop sharing button in the top menu bar.
Now that you know about Excel Live within Teams meetings – why not try it yourself!
Please note: All information is accurate at the time of posting but the Brightspace / Teams layout may have updated.
For more help or information on this tool, check out the iPark website for handy how-to guides; or Brightspace Bytes on Brightspace for helpful screencast tutorials.