Our previous advice was to not upload videos directly to Brightspace but instead to use a streaming services such as Panopto or UniTube. This advice has now changed.
The reason why this advice was given was because Brightspace didn’t have its own streaming service which meant that anyone watching a video would have to download the whole video before being able to watch.
This caused issues with timing as well as data issues for mobile users.


Brightspace now has its own streaming service, so the recommended advice is to upload directly to Brightspace. This doesn’t mean to remove all existing videos and reuploading them to Brightspace but recommends uploading any new video to Brightspace.
This allows for a more integrated and efficient experience, reducing steps for both academics and students.
With the upcoming introduction of a screen capture tool as part of the Creator+ package, using Brightspace as a stand-alone tool for video creation will be even more prominent.
There are two ways that videos can be uploaded to Brightspace:
- Using the Media Library
- Using the Video or Audio option.
Media Library
The benefits of uploading to the Media Library is that videos can then be edited, captioned and then added to multiple modules. Uploading this way will also allow you to give some additional context and content to go alongside the video.
Please see the following guide to see how to upload to the Media Library and then add the video to a content item.
Video or Audio option
Uploading using the Video or Audio option, adds the video to the specified content area as well as to the Media Library. It is simple and easy to do.
Please note that uploading the same video to another area using this method will create a separate item within the Media Library. This would mean that any changes made to one video item will not affect the other video in the other location.
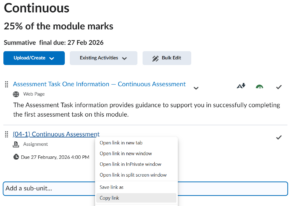
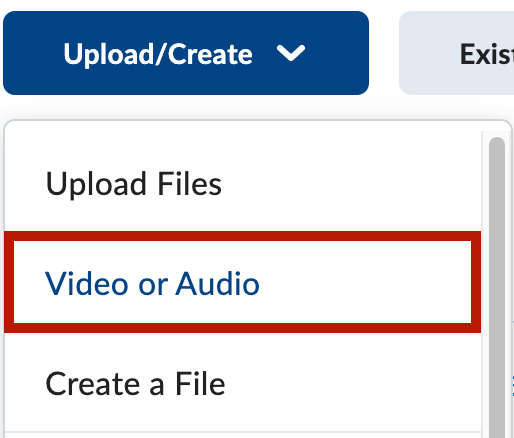
To upload using the Video or Audio option, within the desired content area, click on the Upload/Create button and select the Video or Audio option.
Within the pop-up window, click on the Upload tab at the top and use the Browse button to search for a video file on your device.
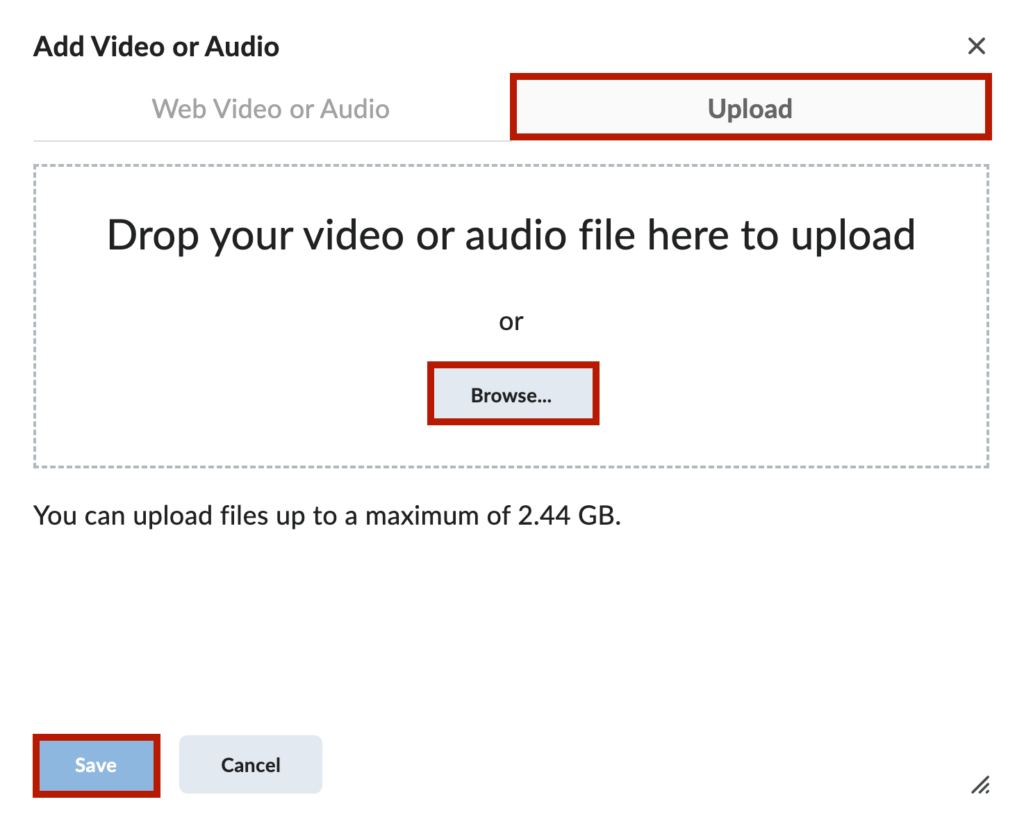
Then click the Save button at the bottom of the pop-up window.
The video may take some time to process depending on the size of the video and your internet connection speed.
Now that you know about uploading videos directly to Brightspace – why not try it yourself!
Please note: All information is accurate at the time of posting but the Brightspace / Teams layout may have updated.
For more help or information on this tool, check out the iPark website for handy how-to guides; or Brightspace Bytes on Brightspace for helpful screencast tutorials.