
The Class Notebook is a tool available in Class/Module Teams.
There are various different areas within the Class Notebook:
- A Teacher Only area
- A Collaboration Space.
- A Content Library
- Individual student notebooks.
This post will be focusing on the collaboration space.
The collaboration space is a section of the class notebook which everyone in the team can see, create pages and edit.

Restricting pages in the Collaboration Space.
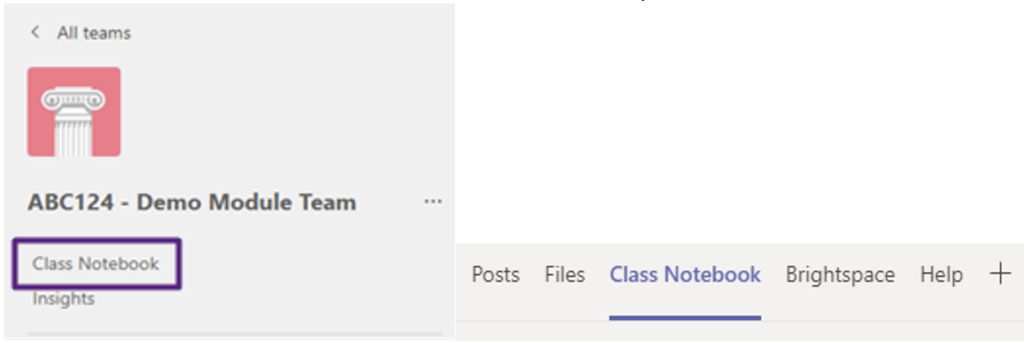
Firstly, navigate to the Class Notebook within Teams.
If Teams is in grid view, this will be under the module name.
If Teams is in the list view, this will be in the tab at the top.
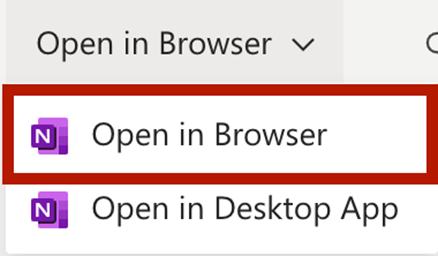
The Class Notebook is a type of OneNote notebook, and the restricting access option is currently only available in the Browser version of OneNote.
To open the Class Notebook OneNote in the browser, click on the Open in Browser drop-down in the top right and select the Open in Browser option.
Select the Class Notebook option in the menu at the top.

Then select the Manage option.
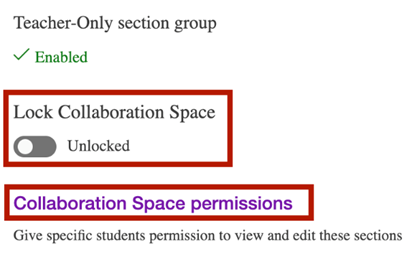
In the right-hand column, click on the Collaboration Space permissions header.
The option to lock the collaboration space is also available on this page.
You will then be presented with a list of pages available in the Collaboration Space.
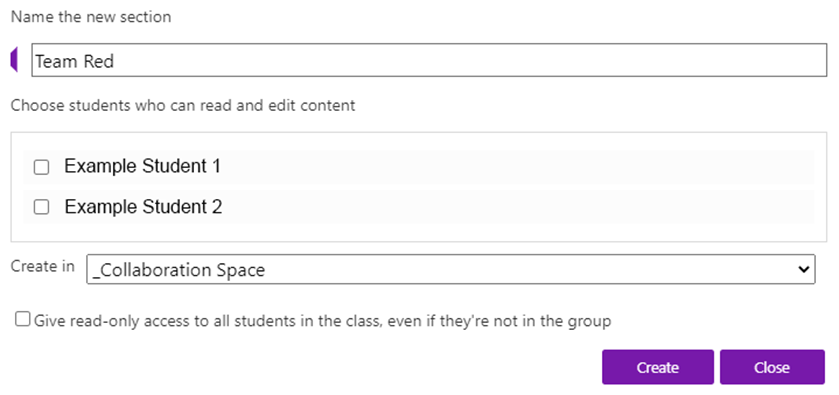
To create a new section, click on the + Add section in the bottom left of the pop-up.

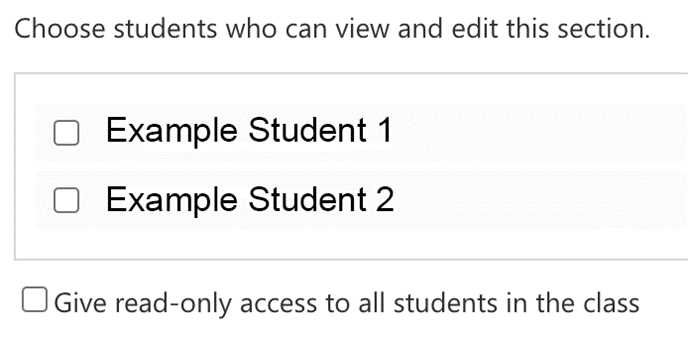
Name the section in the top field then select the students you wish to give permissions to.
Bear in mind that this will give them editing permissions.
The checkbox at the bottom will enable all students to view the content (without giving editing permissions).
Then click Create in the bottom right to create the section with the relevant permissions.
To edit the permissions of an existing page ,click on the pencil icon on the right of a page.

Select the students you wish to give permissions to.
Bear in mind that this will give them editing permissions.
The checkbox at the bottom will enable all students to view the content (without giving editing permissions).

Once you have chosen your students, click on the Save button to save your changes and then click on the Close button to close the pop-up window.
Now that you know how to restrict the Collaboration Space – why not try it yourself!
Please note: All information is accurate at the time of posting but the Brightspace / Teams layout may have updated.
For more help or information on this tool, check out the iPark website for handy how-to guides; or Brightspace Bytes on Brightspace for helpful screencast tutorials.